Table of Content
1. A Little Back Story
- Introduction to Test Driven Development
- Directory Structure and Build Setup
- Pedestrian Crossing Overview
- Test Plan
- Test Cases
6.1 Test Case 1 - Verify the Controller starts in RED
6.2 Test Case 2 - Ensure the light transitions in the correct order: RED → GREEN → YELLOW → RED
6.3 Test Case 3 - Pressing the button during GREEN triggers YELLOW, then RED.
6.4 Test Case 4 - Pressing the button during YELLOW or RED doesn’t interrupt the cycle.
6.5 Test Case 5 - Confirm no direct jumps (e.g., RED → YELLOW without passing through GREEN).
6.6 Test Case 6 - Ensure the predefined duration to transition to GREEN falls between minimum/maximum limits
- Integration of the Traffic Light System
- Practice: Extending the Traffic Light Controller
- ConclusioContentsn
A Little Back Story
For my final year project at the University of Ibadan, I built a disinfecting fog-based hand wash machine. I started with a clear plan of exactly how I wanted to build it: I designed the circuitry, wrote the code, and ran simulations that worked. But after 3D printing the case and assembling the components, I discovered that my project wasn't working as expected. I was so sure my code was the culprit, so I rewrote chunks of it, chasing bugs that wouldn’t die. Good thing or not, I discovered a day before my project defense that my code was fine; the issue was a bad transistor in my circuit. I fixed it just in time for the defense.
Introduction to Test Driven Development
That chaotic final year experience pushed me to rethink how I code. At Powerlabs, I have embraced Test-Driven Development (TDD), where tests come before code to catch issues early. This flips the traditional workflow: instead of hoping code works and debugging when it doesn’t, TDD ensures each feature is verified from the start. In my previous article (if you haven't seen the article, I strongly suggest you do), we discussed why we need to test our code and how to set up CppUTest. In this article, we will dive into building a project from scratch using TDD principles. We will:
- Write a test for a specific piece of functionality.
- Write the minimum amount of code required to make the test pass.
- Gradually build up functionality by adding more tests and code.
- Use CppUTest’s features, such as test groups, setup/teardown methods, and assertions, to ensure our code is thoroughly tested.
Directory Structure and Build Setup
Before we start writing tests and code, we need a solid foundation. Let’s break down the directory structure and build setup for our Pico project. Here’s a quick rundown of the key folders and files:
- ci-cd-tools/: holds build environment files (Dockerfile) for continuous integration.
- include/: contains header files shared across the project .
- src/: contains the main source code for the firmware/application (C/C++ files).
- tests/: The target folder contains tests compiled for the Pico.
- CMakeLists.txt: is the top-level CMake file controlling how the project is built, including sub-directories for the Pico SDK and tests.
- Makefile: defines the compilers and compilation flags for the target (Raspberry Pi Pico). It also sets up phony targets to build the project and tests for target (make firmware), build everything (make all), and to clean the build artifacts (make clean and make test_clean).
Pedestrian Crossing Overview (What is this?)
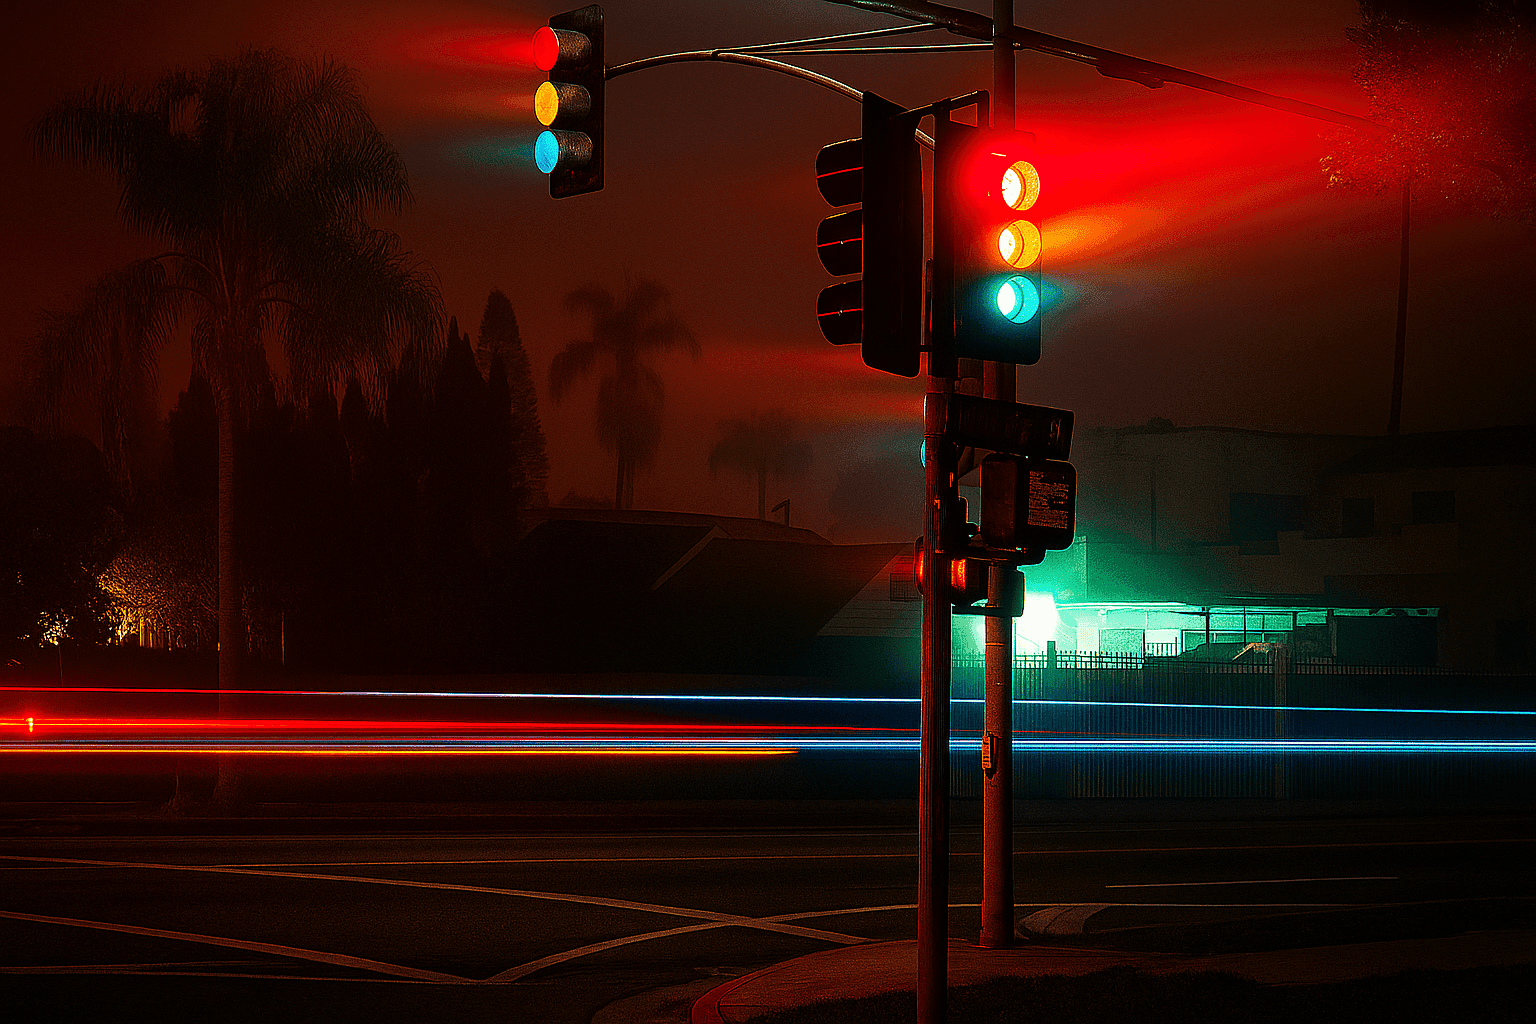
We will build a traffic light controller for a pedestrian crossing. The system will manage the transition between RED, GREEN, and YELLOW lights for both vehicle and pedestrian LEDs, ensuring that pedestrians and vehicles operate safely. We’ll collaboratively define requirements and test plans for the vehicle side, while you’ll practice creating the test plan and writing the tests for the pedestrian side.
Requirements (Vehicle Side):
- The system shall start in the vehicle RED state (default state).
- The system shall transition to the vehicle GREEN after a predefined duration.
- The system shall transition from vehicle GREEN to vehicle YELLOW before switching back to vehicle RED.
- The system shall reset to vehicle YELLOW then vehicle RED after a predefined duration, when a pedestrian presses the crossing button, but only if the light is currently vehicle GREEN.
- The system shall prevent a pedestrian request from interrupting an ongoing transition from vehicle GREEN → YELLOW → RED.
Test Plan (Vehicle Side):
Below is a test list for the Traffic Light Controller. You don’t need to spend hours writing the perfect test list; just list a few core checks and start coding. You can always add more tests as your project evolves.
- Verify the controller starts in RED.
- Ensure the light transitions in the correct order: RED → GREEN → YELLOW → RED.
- Pressing the button during GREEN triggers YELLOW, then RED.
- Pressing the button during YELLOW or RED doesn’t interrupt the cycle.
- Confirm no direct jumps (e.g., RED → YELLOW without passing through GREEN).
- Ensure the predefined duration to transition to GREEN falls between minimum/maximum limits.
Test Cases
Let’s apply TDD to our traffic light controller, targeting the Raspberry Pi Pico. To make this tutorial hands-on, we’ll develop each test case in a separate branch, incrementally building on the previous state. We start from the master branch of the repo, which contains the initial setup. For each test case, we will create a new branch from the previous one (e.g., Test-Case-1 from master, Test-Case-2 from Test-Case-1), allowing you to checkout a specific branch and follow the code’s evolution step-by-step.
NOTE: For Test Cases 1 through 6, we will focus solely on the vehicle traffic light controller. The pedestrian side is your practice task to extend the system.
Test Case 1 - Verify the Controller starts in RED
Remember the steps of the TDD cycle I mentioned in the previous article? We are going to write the minimum production code to make our test fail.
// traffic_light.h

#ifndef TRAFFIC_LIGHT_H
#define TRAFFIC_LIGHT_H

#include <stdio.h>
#include "pico/stdlib.h"

#define RED_LED_PIN 20
#define GREEN_LED_PIN 21
#define YELLOW_LED_PIN 22
#define BUTTON_PIN 5

typedef enum
{
    RED,
    GREEN,
    YELLOW
}traffic_light_state_t;

void setTrafficLightState(traffic_light_state_t state);
traffic_light_state_t runTrafficLight(void);
bool trafficLightButtonPressed(void);

#endif // TRAFFIC_LIGHT_H
// traffic_light.cpp

#include "traffic_light.h"

void setTrafficLightState(traffic_light_state_t state)
{

}

traffic_light_state_t runTrafficLight(void)
{
return GREEN;
}

bool trafficLightButtonPressed(void)
{

}
Now, the test:
// test.cpp

#include "CppUTest/TestHarness.h"
#include "traffic_light.h"

TEST_GROUP(TrafficLightGroup)
{
    void setup()
    {
        // Runs before each test
    }

    void teardown()
    {
        // Runs after each test
    }
};

TEST(TrafficLightGroup, InitialStateIsRed)
{
    CHECK_EQUAL(RED, runTrafficLight()); // This checks that the traffic light starts in RED.
}
For our first test case, we’ll work in the Test-Case-1--Fail branch, created from master branch in the repo. In src/traffic_light.cpp, I initially set runTrafficLight() to return GREEN. This ensures our test fails first, proving we’re validating behavior, not just passing by default.
In the test, TEST_GROUP(TrafficLightGroup) organizes all traffic light tests. The setup() and teardown() functions auto-run before and after each test. They are currently empty, but are ideal for resetting state (e.g., forcing RED) in later tests. InitialStateIsRed test checks that runTrafficLight() returns RED at startup.
To run the test, clone the github repository and checkout Test-Case-1–Fail.
After setting up, you can build the project locally by running:
make firmware
Alternatively, you can use Docker (see the README for full steps). Once you're in the Docker environment, build the project by running:
make firmware
Next, flash the generated UF2 file containing your test code (in the build/arm/tests/target/trafficlight/ directory) onto your Pico. Use a terminal emulator like picocom to view the test output. Note that there’s a 10-second delay after uploading the UF2 file before the test output appears. The output will show:
Running CppUTest…
TEST(TrafficLightGroup, InitialStateIsRed)
/home/Desktop/Pedestrian-Crossing-with-CppUTest/tests/target/trafficlight/test.cpp:22: error: Failure in TEST(TrafficLightGroup, InitialStateIsRed)
expected <0>
but was <1>
difference starts at position 0 at: < 1 >
^
The failure confirms our test works: GREEN (1) doesn’t match RED (0). Now, per TDD, we will make the small change needed to pass the test. In this case, we return RED. See below:
// traffic_light.cpp

#include "traffic_light.h"

void setTrafficLightState(traffic_light_state_t state)
{

}

traffic_light_state_t runTrafficLight(void)
{
return RED;
}

bool trafficLightButtonPressed(void)
{

}
Rebuild the test and flash the Pico. The output of the test becomes
Running CppUTest…
TEST(TrafficLightGroup, InitialStateIsRed) - 0 ms
OK (1 tests, 1 ran, 1 checks, 0 ignored, 0 filtered out, 0 ms)
So we see a total of 1 test run and 0 failure, which means our test passed as expected.
Find the code for Test Case 1 here.
Test Case 2 - Ensure the light transitions in the correct order: RED → GREEN → YELLOW → RED
I know it looks ridiculous to make runTrafficLight() return RED, but it's all part of TDD: write just enough code to make the current test pass, and nothing more. Not to worry, we will update it next. We will start by adding a new test case to our test harness to verify that the light transitions are in the correct order.
Checkout to Test-Case-2--Fail branch to view Test 2 in tests/target/trafficlight/test.cpp file.
When we run the test, it will fail because the setTrafficLightState() function does nothing. Now, following our TDD cycle, we make a small change to our production code to pass this test.
See updated code in src/traffic_light.cpp file in the Test-Case-2--Pass branch. setTrafficLightState() function now transitions the system to the next state.
When we run the tests now, we will see that all two tests pass:
Running CppUTest…
TEST(TrafficLightGroup, CorrectLightTransitions) - 0 ms
TEST(TrafficLightGroup, InitialStateIsRed) - 0 ms
OK (2 tests, 2 ran, 5 checks, 0 ignored, 0 filtered out, 0 ms)
Test Case 3 - Pressing the button during GREEN triggers YELLOW, then RED.
Let's add another test case to our test harness. This test should verify that pressing the button when the traffic light is GREEN should trigger YELLOW LED, then RED. As usual, we will run the test, watch it fail, and make minimal changes to the code to make the test pass.
In Test-Case-3–Fail, I have created 2 functions: startYellowTransition() and completeYellowTransitionToRed() to start the transition from GREEN to YELLOW when the button is pressed and to finally transition to RED after a predefined period. The functions are empty for now, following TDD. After writing the test, we will update the functions to make the test pass.
When we run this test, it fails as expected. So we edit our code to make the test pass.
See branch Test-Case-3--Pass. You'll notice that I created a function overload of trafficLightButtonPressed() that takes the button state and current state as a parameter. This allows us to simulate the button being pressed during testing to verify the transition logic without relying on hardware inputs.
Running CppUTest…
TEST(TrafficLightGroup, ButtonPressOnGreenToYellowThenRed) - 0 ms
TEST(TrafficLightGroup, CorrectLightTransitions) - 0 ms
TEST(TrafficLightGroup, InitialStateIsRed) - 0 ms
OK (3 tests, 3 ran, 9 checks, 0 ignored, 0 filtered out, 0 ms)
Test Case 4 - Pressing the button during YELLOW or RED doesn’t interrupt the cycle.
Let's add another test case to our test harness. This test should verify that pressing the button when the traffic light is YELLOW or RED should do nothing. We will run the test, watch it fail, and make minimal changes to the code to make the test pass.
Running CppUTest…
TEST(TrafficLightGroup, ButtonPressOnYellowOrRed) - 0 ms
TEST(TrafficLightGroup, ButtonPressOnGreenToYellowThenRed) - 0 ms
TEST(TrafficLightGroup, CorrectLightTransitions) - 0 ms
TEST(TrafficLightGroup, InitialStateIsRed) - 0 ms
OK (4 tests, 4 ran, 13 checks, 0 ignored, 0 filtered out, 0 ms)
See Test-Case-4--Pass branch. In this case, the test passed without making any modifications to our src/traffic_light.cpp file, confirming that pedestrian requests are only honored when the light is GREEN.
Test Case 5 - Confirm no direct jumps (e.g., RED → YELLOW without passing through GREEN).
Let's add another test case to our test harness. This test should confirm that there are no direct jumps. See the test in Test-Case-5–Fail. We will run the test, watch it fail, and make minimal changes to the code to make the test pass.
After making changes to the code as in Test-Case-5--Fail-again branch, you’ll notice a failure in the ButtonPressOnYellowOrRed test.
Running CppUTest...
TEST(TrafficLightGroup, NoDirectJumps) - 0 ms
TEST(TrafficLightGroup, ButtonPressOnYellowOrRed)
/home/Pedestrian-Crossing-with-CppUTest/tests/target/trafficlight/test.cpp:74: error: Failure in TEST(TrafficLightGroup, ButtonPressOnYellowOrRed)
expected <2>
but was <0>
difference starts at position 0 at: < 0 >
^
Can you figure out why?
The NoDirectJumps test runs before ButtonPressOnYellowOrRed and sets the traffic light's last valid state to RED. When ButtonPressOnYellowOrRed attempts to transition to YELLOW, this represents an invalid state change. Our code is designed to prevent such invalid transitions, so the state remains unchanged. As a result, the assertion CHECK_EQUAL(YELLOW, runTrafficLight()) fails, expecting YELLOW (2) but receiving the unchanged state (0).
To fix this, modify the test to transition to GREEN before YELLOW, as demonstrated in the Test-Case-5-Pass branch, ensuring a valid state sequence.
Running CppUTest…
TEST(TrafficLightGroup, NoDirectJumps) - 0 ms
TEST(TrafficLightGroup, ButtonPressOnYellowOrRed) - 0 ms
TEST(TrafficLightGroup, ButtonPressOnGreenToYellowThenRed) - 0 ms
TEST(TrafficLightGroup, CorrectLightTransitions) - 0 ms
TEST(TrafficLightGroup, InitialStateIsRed) - 0 ms
OK (5 tests, 5 ran, 19 checks, 0 ignored, 0 filtered out, 0 ms)
Test Case 6 - Ensure the predefined duration to transition to GREEN falls between minimum/maximum limits
Let's add another test case to our test harness. This test should confirm that the predefined duration to transition to GREEN falls between pre-defined limits. See Test-Case-6–Fail branch. We will run the test, watch it fail, and make minimal changes to the code to make the test pass. See Test-Case-6--Pass branch.
Running CppUTest…
TEST(TrafficLightGroup, RedtoGreenLimits) - 0 ms
TEST(TrafficLightGroup, NoDirectJumps) - 0 ms
TEST(TrafficLightGroup, ButtonPressOnYellowOrRed) - 0 ms
TEST(TrafficLightGroup, ButtonPressOnGreenToYellowThenRed) - 0 ms
TEST(TrafficLightGroup, CorrectLightTransitions) - 0 ms
TEST(TrafficLightGroup, InitialStateIsRed) - 0 ms
OK (6 tests, 6 ran, 22 checks, 0 ignored, 0 filtered out, 0 ms)
Integration of the Traffic Light System
With our tests all passing, it's time to see how the pieces come together in our main application. See the main branch.
Practice: Extending the Traffic Light Controller
We’ve built the vehicle side of our controller—RED, GREEN, YELLOW LEDs with a pedestrian button. Now, extend it to include pedestrian LEDs (GREEN=walk, YELLOW=wait, RED=stop) that sync with vehicle states. Here's how:
- Clone the public repo for this project here. It contains all the code we’ve written so far. Start from the main branch.
- Focus on these requirements (you may add more):
- On vehicle GREEN, if the button is pressed, turn on pedestrian YELLOW for pedestrianWaitTime (e.g., 5 seconds).
- After pedestrianWaitTime, transition the vehicle LED to YELLOW, then RED after a short delay.
- On vehicle RED, turn on pedestrian GREEN and sound a buzzer for a buzzerDuration period (e.g., 20 seconds).
- On vehicle GREEN or YELLOW, keep pedestrian RED and buzzer off.
- Ensure pedestrian transitions follow YELLOW → GREEN → RED (no skips).
- Start by writing a test in tests/target/trafficlight/test.cpp.
- Update include/traffic_light.h to include pedestrian LED pins and states.
- Modify src/traffic_light.cpp to set the pedestrian LEDs based on the vehicle state in runTrafficLight().
Follow the TDD cycle: write a failing test, add minimal code to pass it, and refactor if needed. If you get stuck, peek at how we handled the vehicle transitions; it’s the same process.
When all your tests pass and desired behavior is achieved, push the branch to your forked repository, and submit a pull request to the main repository.
Conclusion
In this article, we walked through the development of a Traffic Light Controller for a pedestrian crossing using Test-Driven Development (TDD) principles. We started by defining clear requirements before writing our tests. By following the TDD cycle:
- We wrote tests for each piece of functionality.
- We wrote just enough production code to make each test pass.
- We iteratively refined our code, allowing the tests to drive the design and reveal hidden dependencies.
You also got a chance to practice TDD with the pedestrian LED exercise. All the code is available in the public repo, so clone it, try the practice, and see how far you can take it.
One interesting thing to note is that we can build the traffic light system in a completely hardware-independent way. In our project, traffic_light.cpp directly uses Pico-specific functions like gpio_put() to control LEDs, gpio_get() to check the button, and sleep_ms() for timing, which means our tests need to run on the actual Pico hardware. We can use a Hardware Abstraction Layer (HAL) to break free from this hardware dependency. The HAL introduces generic functions, like setLED() to turn on lights, readButton() to detect presses, and delay() for timing, that traffic_light.cpp calls instead of the Pico-specific ones. During testing, we can create a 'mock' HAL that runs on our computer (the host), simulating these functions without needing the Pico at all. For example, setLED() could just log 'LED on' to the screen, and readButton() could return a test value we control. This lets us run all our CppUTest cases quickly on the host, catching bugs before we ever flash the code to the hardware. Then, for the real Pico, we swap in a Pico-specific HAL that ties those generic calls back to gpio_put() and friends. This approach speeds up development and makes testing hardware-independent.
I hope this tutorial helps you understand TDD and how to use it effectively in your projects. I also hope it inspires you to try TDD in your own work and enjoy the confidence that comes with knowing your code is well tested.
Happy testing and coding!!